Hi Everyone!
 The results are in and I couldn't be happier with the repaired look of my acid green sashed quilt top. I took pictures throughout to show you my process. I am no pro at this, but it worked I am pleased to say. The close match of fabric made all the difference. We are very lucky to have such an option today. And it doesn't hurt, that many patches made before us, which didn't match, we find to be precious. So even at closest range, my patch-work is precious.

First a reminder of what it looked like before.

First, I trimmed away only those ends that would make bumps on the top patch. I ironed everything flat before trimming and I saved the trimmed pieces. GUILT!
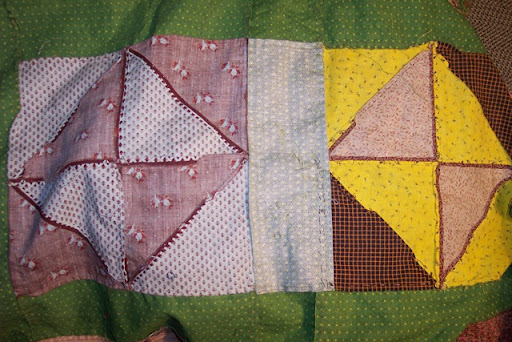
I made a patch the entire length of the blocks next to the sashing and stitched it on with the green facing up. the edges were turned under with a wide seam allowance and I made the piece ever so slightly larger than the original sashing. I hand-sewed it down from the top stitching through the seam. this means that the edges on the back side are freer in some areas and the stitching is right at the edges in others. Nothing is square in old tops!! this was my way of going with the flow of the years and wear.
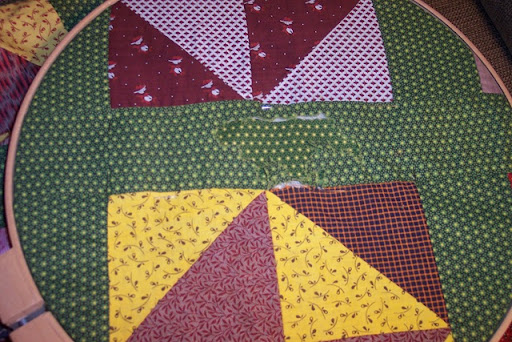 I put it in a hoop and I hand-stitched all those loose edges (in the 3rd photo above) down to the back piece I sewed on first. That's why I put it face up.The bit of white you can see are the turned edges of the seams.
There are tons of tiny stitches holding the little chomped pieces down with matching green DMC thread.
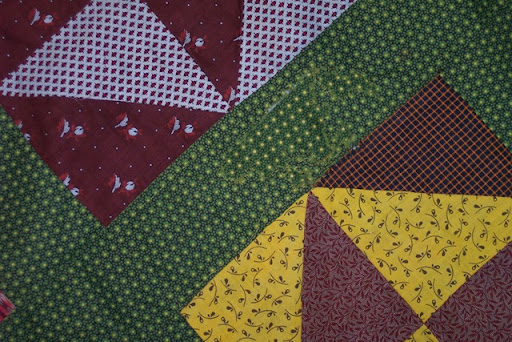
Lastly, I sewed the final template of acid green fabric across the same space, sewing it as close to the same size as the original, but the brown woven plaid fabric had pulled away and was thread bare, so I darned that area to strengthen it.

In the end, this new patch served two purposes, to cover the mouse hole repair and to correct the failing seam.
Next I am going to repair this area in the top. There are two crocking triangles in this block. I made the paper triangle templates, each being different. Then I cut the fabric, turned the edges under, basted and just need to sew them down to the seams surrounding the triangles there now.
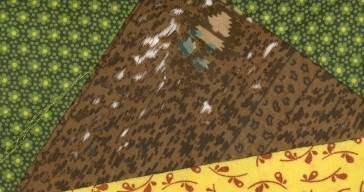
It would do not good to sew the new fabric on top of the rotting brown fabric. I decided not to cover it up with a back patch because it is so beautiful.
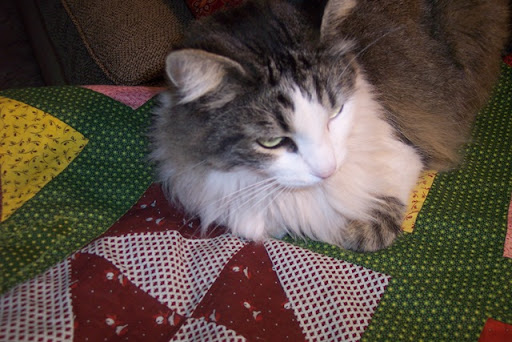
When I put the top on my lounge chair for the photos I turned around to see this, my kitty Haley watching over the repair in process on the left side, or was he actually hoping for another mouse visit?
I have kept you apprised about the creative writing challenge and fundraiser on Women On Quilts.The results of this challenge are in too, so take a peek to see who wrote the stories you will be reading in the eBook I am putting together for a fr.ee download of pure enjoyment.
Wonderful workmanship & restoration.
ReplyDeleteI have a lady that has a very aged quilt but I cannot recognize the fabrics as feedsack at all. If I have her contact you or send you a pic, would you be able to maybe assist us in the age of it & the fabrics used? TY
Hope you had a wonderful day ~
TTFN ~ Marydon
Yes, the mouse certainly met its match! Fine mending job. When can you start at my house?
ReplyDeleteExcellent job. I also have repaired mouse holes in an 1870's log cabin quilt. Your work is very well done and nicely documented. Pat yourself on your back and go have a cuppa of something.
ReplyDeleteJudi